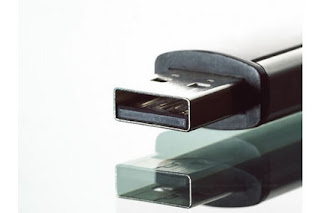
 Some easy steps to install the open-source OS from USB
Installing Ubuntu is very easy - especially if you do it from a memory stick.
Read our indepth guide to decide which version of the open-source operating system appeals you - desktop or netbook, 32-bit or 64-bit - and then follow the instructions in our step-by-step guide below to do it directly from a USB stick.
1 . Get Ubuntu To install Ubuntu from a USB memory stick, you’ll need three things: the ISO file for your version of choice, the Universal USB Installer program and a 2GB USB flash drive. You can find the USB Installer from www.pendrivelinux.com.
2 . Run the USB installer Select any version of Ubuntu from the first dropdown menu, navigate to your ISO file in the textbox, then select your USB drive from the second dropdown menu. Now check the box if you need to format the drive, then click Create.
4 . Drive space If you want to install Ubuntu alongside the existing Windows installation, then choose “Install alongside other operating systems”. If you’re happy to wipe the drive and start again, select the second option, “Erase and use the entire disk”.
5 . Set partitions This screen displays your existing partitions and how they’ll be divided up after the installation. To change the share for either Ubuntu or Windows, you can drag the dividing line to the left or right. As a rule of thumb, we recommend you to give Ubuntu at least 20GB of space. Click Install Now when you’re ready.
6 . Tweak settings While Ubuntu is getting installed, you can select your location, your keyboard layout and finally enter your details as the initial user. When the installation is complete, Ubuntu will restart, and you can log in and explore.


No comments:
Post a Comment